Experience Editor view
Introduction
Experience Editor is one of two views which allow you to edit content on the UWE Bristol website. The other view is Content Editor.
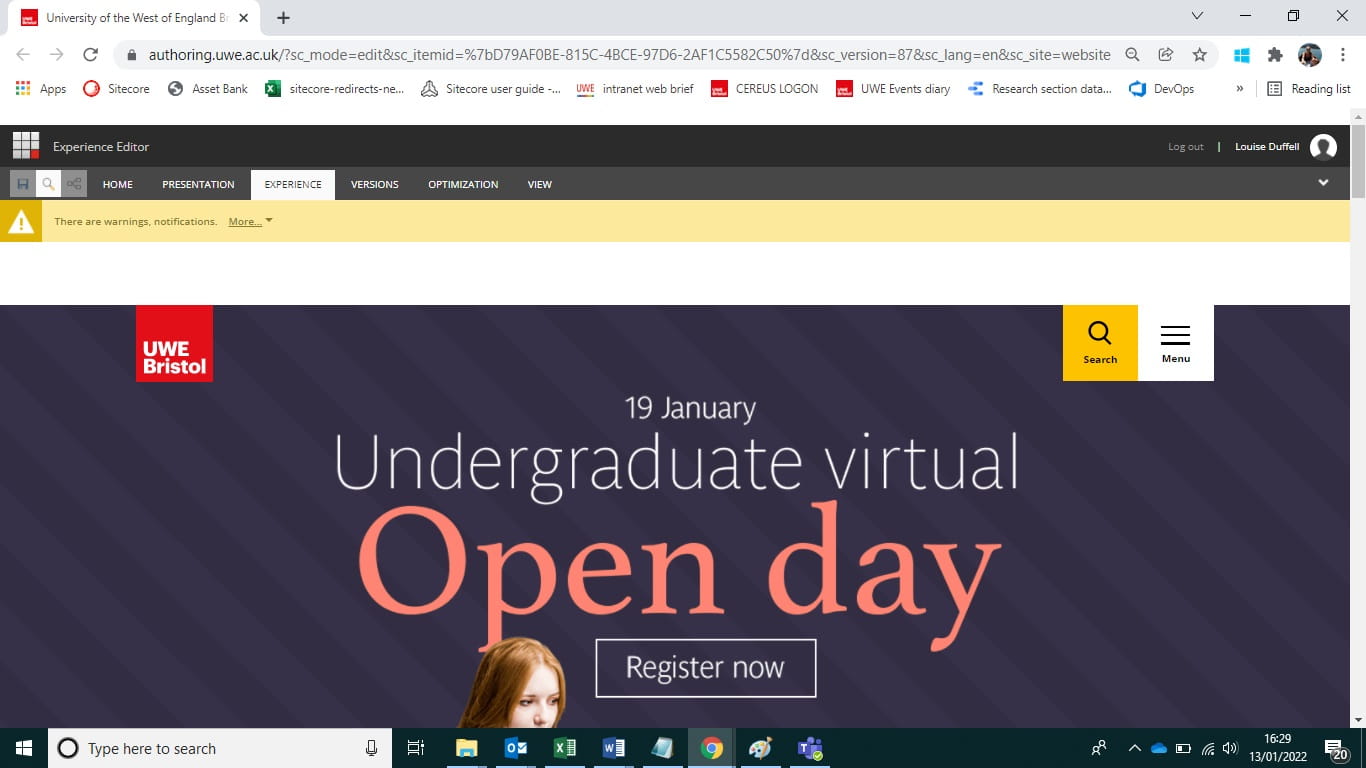
Experience Editor can be used to view and edit content in situ, meaning you can edit the page in a view similar to how it looks on the front end. In other words you 'experience' the page as it will display for the final user.
You can view and edit all the components that have been added to the page as well, move them around, or add in new ones.
Opening Experience Editor from the home screen
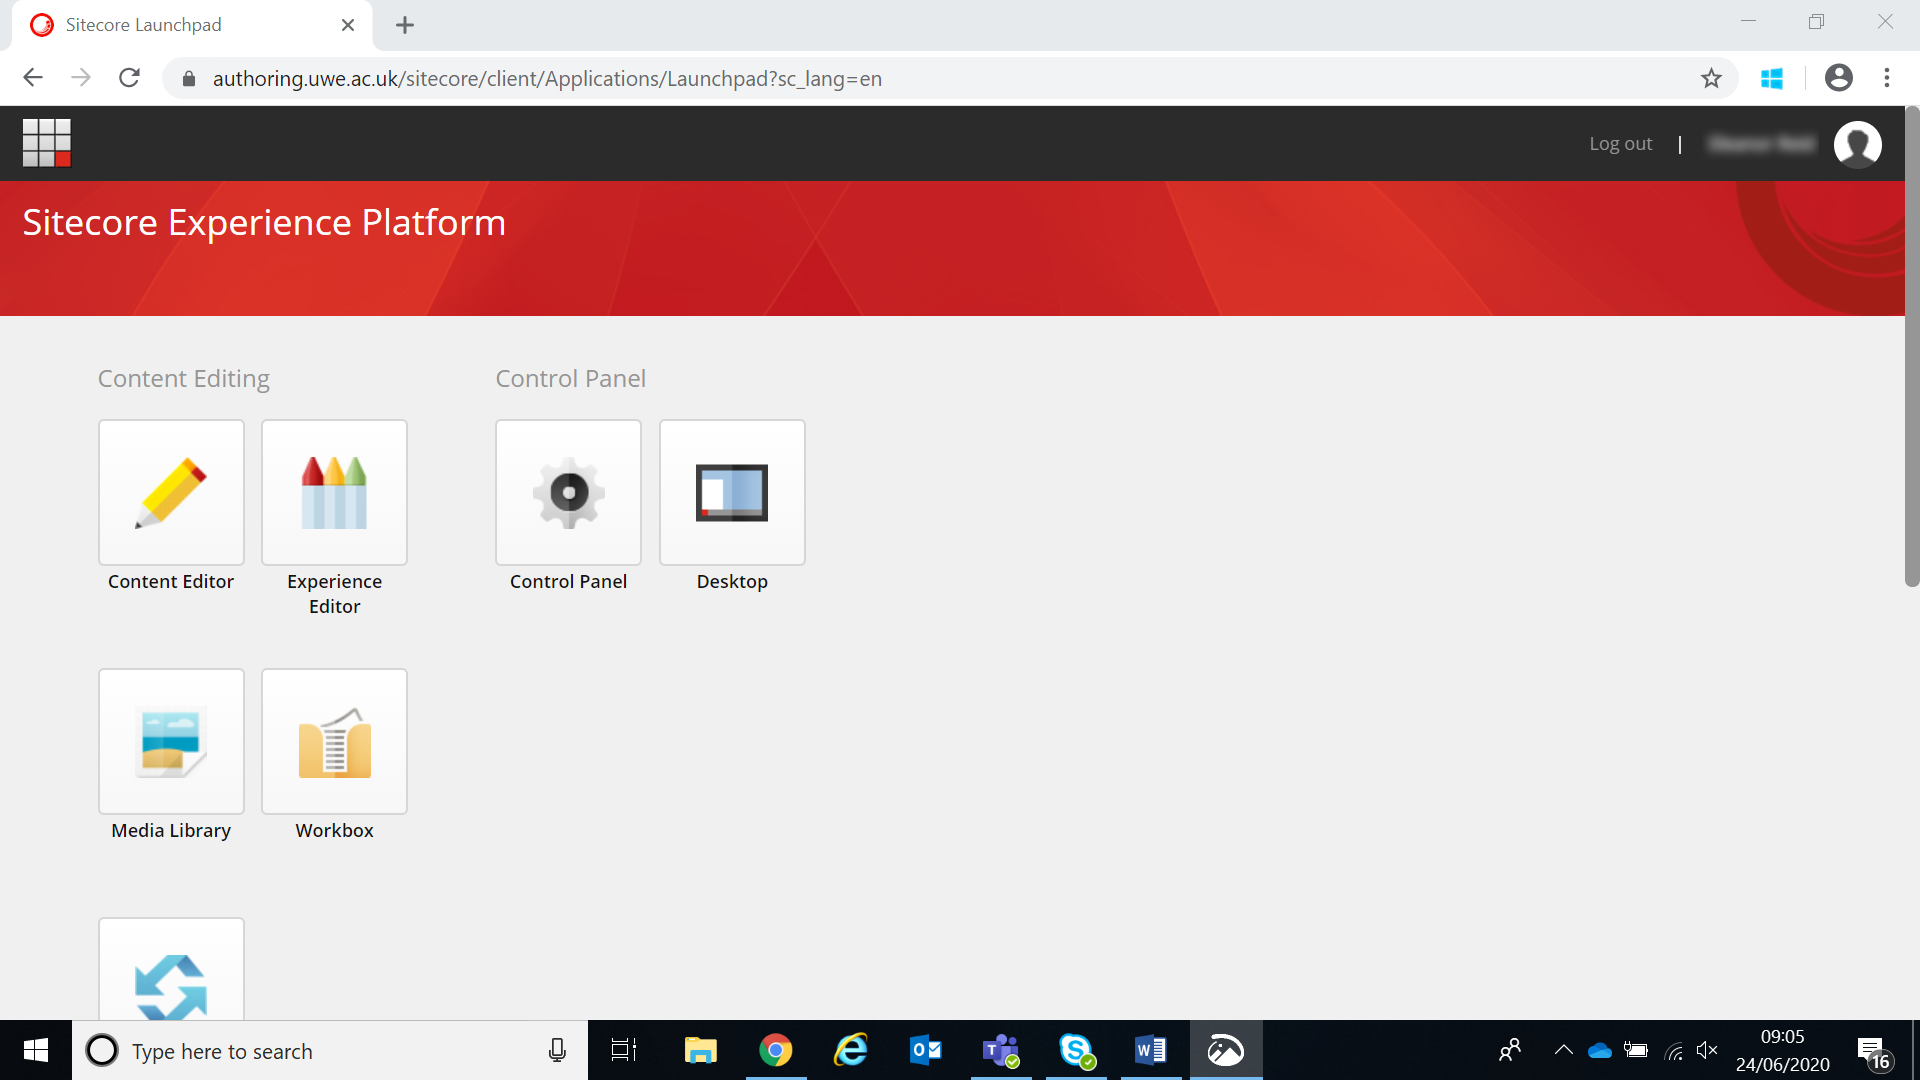
Once you are logged in to Sitecore you will see this home screen (image below). Click on the crayons icon labelled 'Experience Editor' to begin editing the website in Experience Editor view. Use the 'Edit' button under the Home tab on the top menu to begin editing the page. You may also have to unlock the page using the top yellow menu bar.
It is also possible to open Experience Editor from within Content Editor through the Publish tab. If you have made any edits in the Content Editor, make sure these are saved before opening the page in Experience Editor.

How to use Experience Editor
The basics
Experience Editor can be used to preview changes as you make them, so you can add or edit text in any of the text boxes on the page. You may need to click twice in order to edit the text.
Styling and formatting, headers, images, videos and embeds usually appear as they would do on the front end. Occasionally they may look warped or different so it is worth also checking the page in preview mode as well.

Editing in-built copy sections
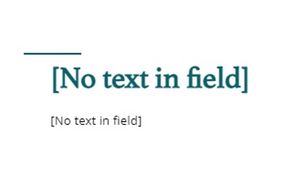
In Experience Editor you can view and edit any in-built copy sections that are part of the template. If these sections are empty then they will read [No text in field]. When you click on this text you can add in a header (in teal) and also body text below.
Clicking on one of the text field will bring up the copy section menu. For the body text, use the pencil icon to open up the full rich text editor, the b and i icons to bold and italicise text, the world link icon for adding external hyperlinks, as well as the normal link icon for inserting internal hyperlinks.
Remember to save any changes as you make them using the save button on the top menu, as it is easy to lose your work if you do not. Be patient as Experience Editor reloads after saving, it will take a few seconds.

Saving your changes correctly
It's important to note that if you open up Experience Editor from within Content Editor and then flick between tabs/windows, you may accidentally save over your work.
Make sure that when you are finished with editing a page in Experience Editor you then navigate away from the page in Content Editor, or refresh the page, before making and saving any other additional changes in Content Editor.
