Asset Bank
Log in
Log into asset bank using the login details on the team password spreadsheet.
Search
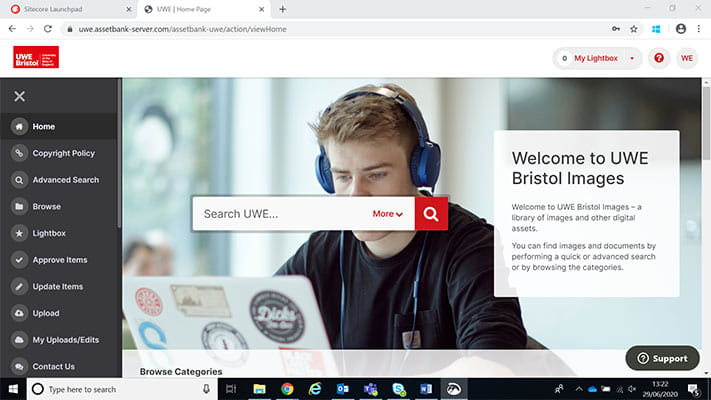
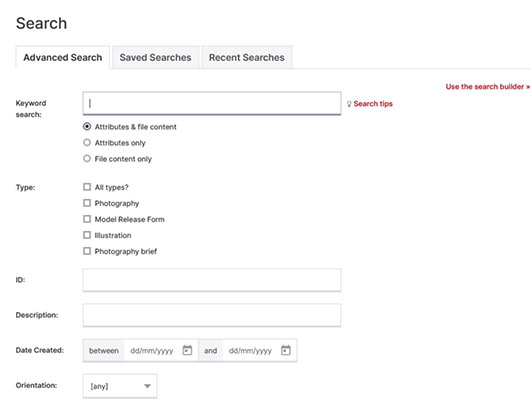
If you have a good idea of what you are looking for you can try the general keyword search on asset bank. There is a basic search bar on the main homepage, or an advanced search (see the left-hand menu). If you start typing in the search box will suggest existing keywords. The number of tags assigned to an image is currently very limited, so you may not be able to find what you need using keyword search.
- Click on 'advanced search' to access the advanced search option.
- Click in the 'Search UWE...' field to do a simple search.
Click in 'Keyword search' to do an advanced search.
Finding an old image
If you have a specific image in mind, it may be on the Asset Bank. Ask the supplier for the original file name, as you may be able to find it in Asset Bank that way. Images are renamed before they are uploaded to the website.
Remember that some images currently used on the old website won't be on the Asset Bank if they are old or not in the right brand style.
Resizing images
In Asset Bank, click Download on the image you want.
Select Web Transformation Images.
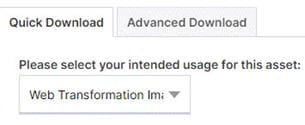
Select your component image from the drop down.
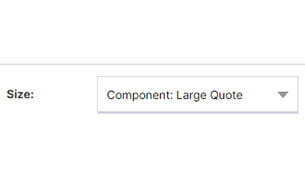
Now do your crop selection.
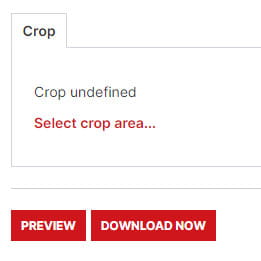
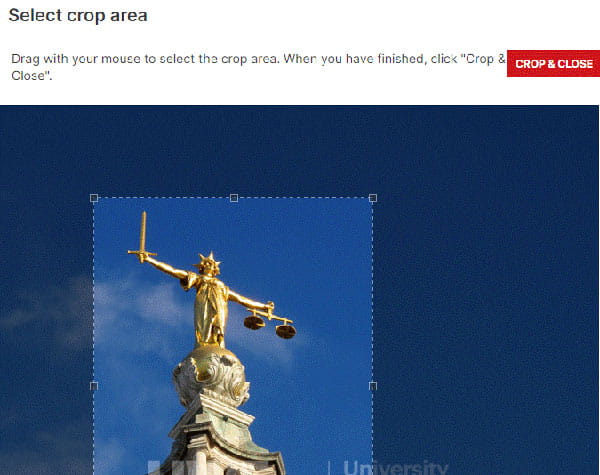
Drag with your mouse to select the crop area. When you have finished, click 'Crop & close'.
Lightbox creation
A lightbox is a location where you can store a collection of images. They don't have an expiry date and can be added to over time. The advantage of lightboxes is that they can be previewed, shared or downloaded.
You can create as many lightboxes as you need, as long as they all have a unique name.
If you have multiple projects on the go, you may find it helpful to specify a specific lightbox for each project - especially if you're looking at a lot of image. You can choose one as your current lightbox, which means which means each time you add an image it will automatically go into that folder.
Click the 'Lightbox' link on the dark grey menu on the left of the screen.
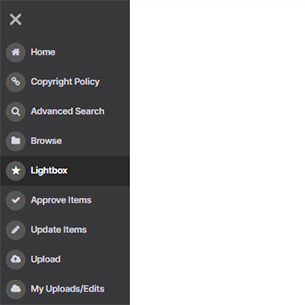
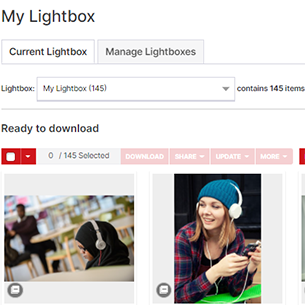
You will be taken to the 'My lightbox' menu.
Click on 'Manage lightboxes'.
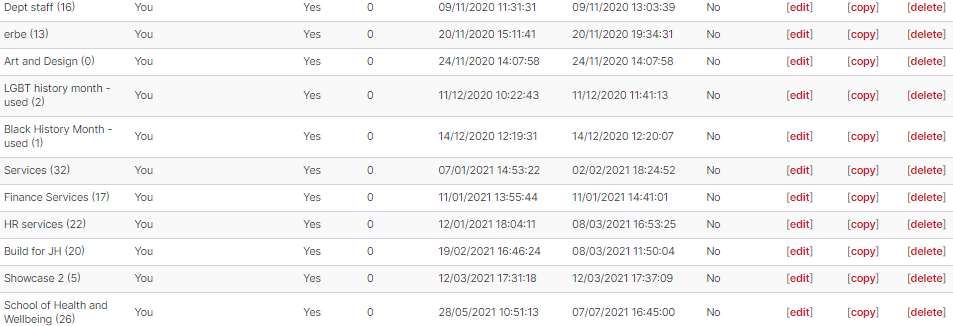
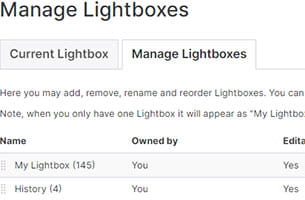
You will be shown a list of all the lightboxes associated with you account. Scroll down to the bottom to add a new lightbox.
Enter in a unique name in the 'Name' field and then press 'Add'.
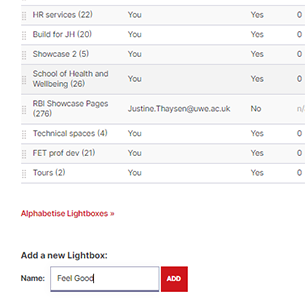
You will be taken to the top of the 'Manage lightboxes' view. Your new lightbox will appear at the bottom by default.
Click on 'Current lightbox'.
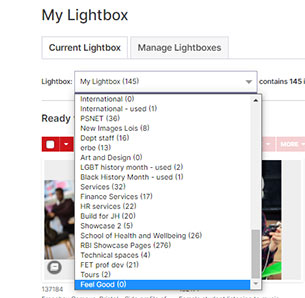
Click in the 'Lightbox' field and it will bring up a drop down of all your lightboxes.
Scroll to the one you want to make your current lightbox and click on the title within the drop down. It will take you to your lightbox.
Add to lightbox
Browse for images as described earlier on this page.
Click on the image you want to add and then press 'Add to lightbox'.
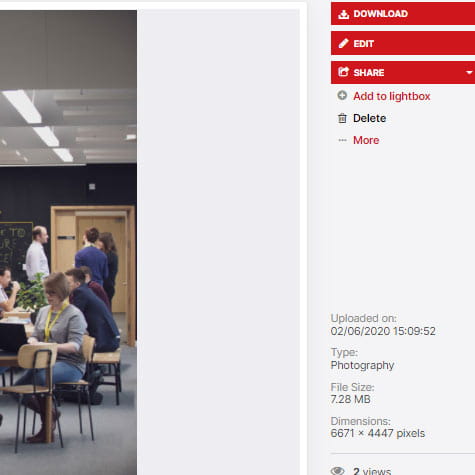
Lightbox management
If you click the 'Lightbox' tab on the grey menu to the left-hand side you will be taken to your lightbox, which will display all the items currently in it.
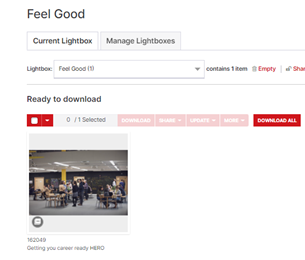
Lightbox management options
Select images
If you tick in the top grey area of each image you can select it. You can select all images by ticking the box under the words 'Ready to download'.
Download
If you press 'Download all' or 'Download' you'll be taken to a screen that allows you to choose the size and crop for each image that is ticked. Follow the options explained above to crop the images and download them.
Create a contact sheet
To view a contact sheet of your lightbox, go to More > View as contact sheet. You can then choose to 'Print' or 'Save as PDF' if you would like.
Remove images from your lightbox
To remove images from your lightbox, tick the items you wish to remove.
Go to More > Remove from lightbox.
Create a shareable link
You can create a shareable link to your lightbox that lasts for 30 days if you needed to send it to stakeholders.
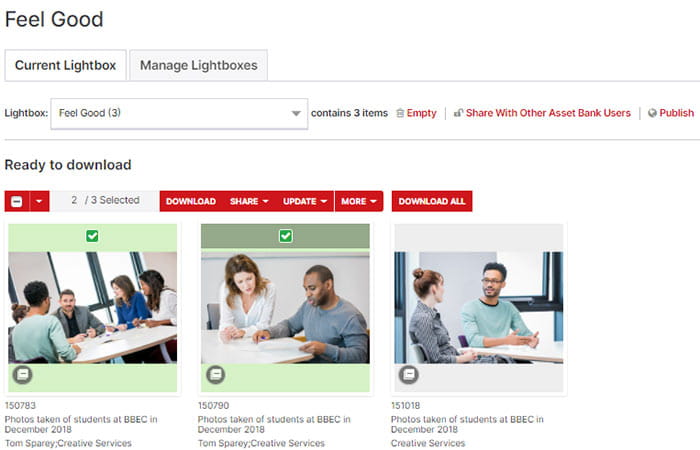
Publish lightbox
- Click on 'Lightbox'.
- Make sure you have the lightbox you want selected as your current lightbox.
- Click on 'Publish'.
- You will then see the below screen. You don't need to password-protect your lightbox if you don't want to, but you will need to specify an expiry date. The expiry date can't be more than 30 days from now.
- Press 'Publish'.
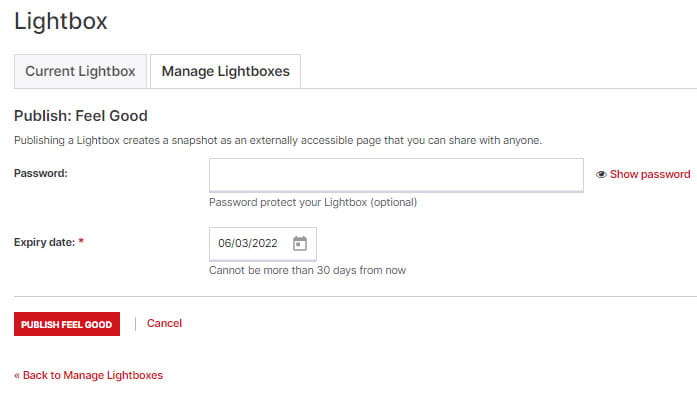
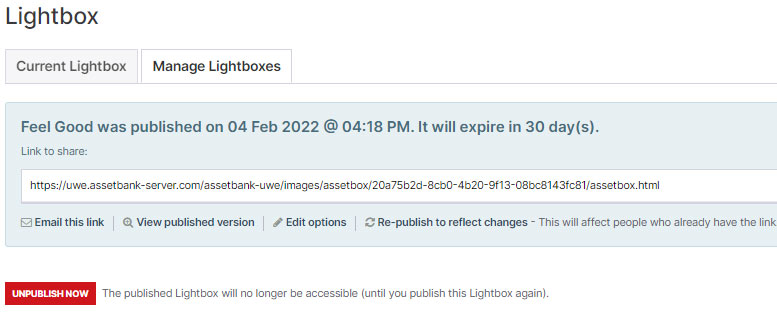
After you've pressed 'Publish' you'll see a screen with the shareable link.
You can re-publish the link if you edit the lightbox.
You can 'Unpublish' the lightbox if you no longer need it - remember that the link will stop working after 30 days (or however long you set) anyway.
Lightbox deletion
- Go to 'Lightbox' from the grey left-hand menu.
- Press 'Manage lightboxes'.
- Click 'Delete' against the lightbox you want to remove. The images will still be on Asset Bank but your light box will be deleted.
