Adding images to components
In Content Editor
Ideally you will have already uploaded your image to the Media Library in the correct dimensions before trying to add an image to your component, although it can be done at the time.
Step 1
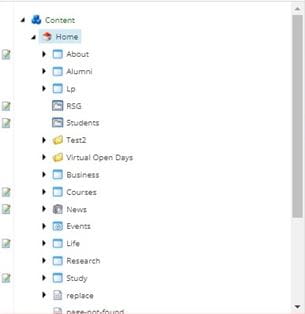
Navigate to your component that you have created (or create one) using the left-hand menu in Content Editor, then select the component by clicking on it.

Step 2
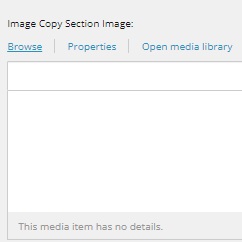
Scroll down to the section where you can add an image, this will be clearly marked. Click 'Browse' which will open up the Media Library in a small window.

Step 3
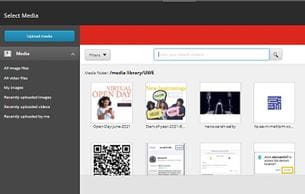
Once the Media Library window is open you can search for your image using keywords in the name, or you can use the menu to navigate and find your image. There is a 'recent image' section where recently uploaded images normally appear, although occasionally new images don't show up in here and you have to do a search for them.
You are also able to upload a new image at this point in time using the blue 'Upload media' button, but if you do this be very careful to save your image in the correct place and remember to go back and publish it later on. We advise uploading and publishing prior to adding images to components.

In Experience Editor
Steps 1-3
Add the relevant component to the correct page in Experience Editor mode, or select the component if it has already been added by clicking on it. The component menu will appear on the left side of the component (see screenshot below), and you will have the option to add in or change the image (the icon will look like a small picture). Click on this icon. Then follow steps 2-3 above as for Content Editor.

